Regad Electric Creasing Machine
Zachary Brown
Beyond a few youtube videos and poorly written descriptions online, there isn’t much information available about electric creasing machines, or how to really use them. There’s always been an air of mystery around these machines with me, and after perusing various online leather tool vendor’s websites for years, I’ve grown accustomed to seeing Regad Electric Creasing Machines, and their accessories but never really knowing what they’re all about. It’s a little intimidating to see so many accessories, and not really understand what they’re used for. To be completely honest, shelling out that kind of dough seemed like a really expensive experiment without more information. My aim with this post is to lift my perceived veil from these machines, and hopefully help grow the understanding of them in the leatherworking community (because they’re awesome).
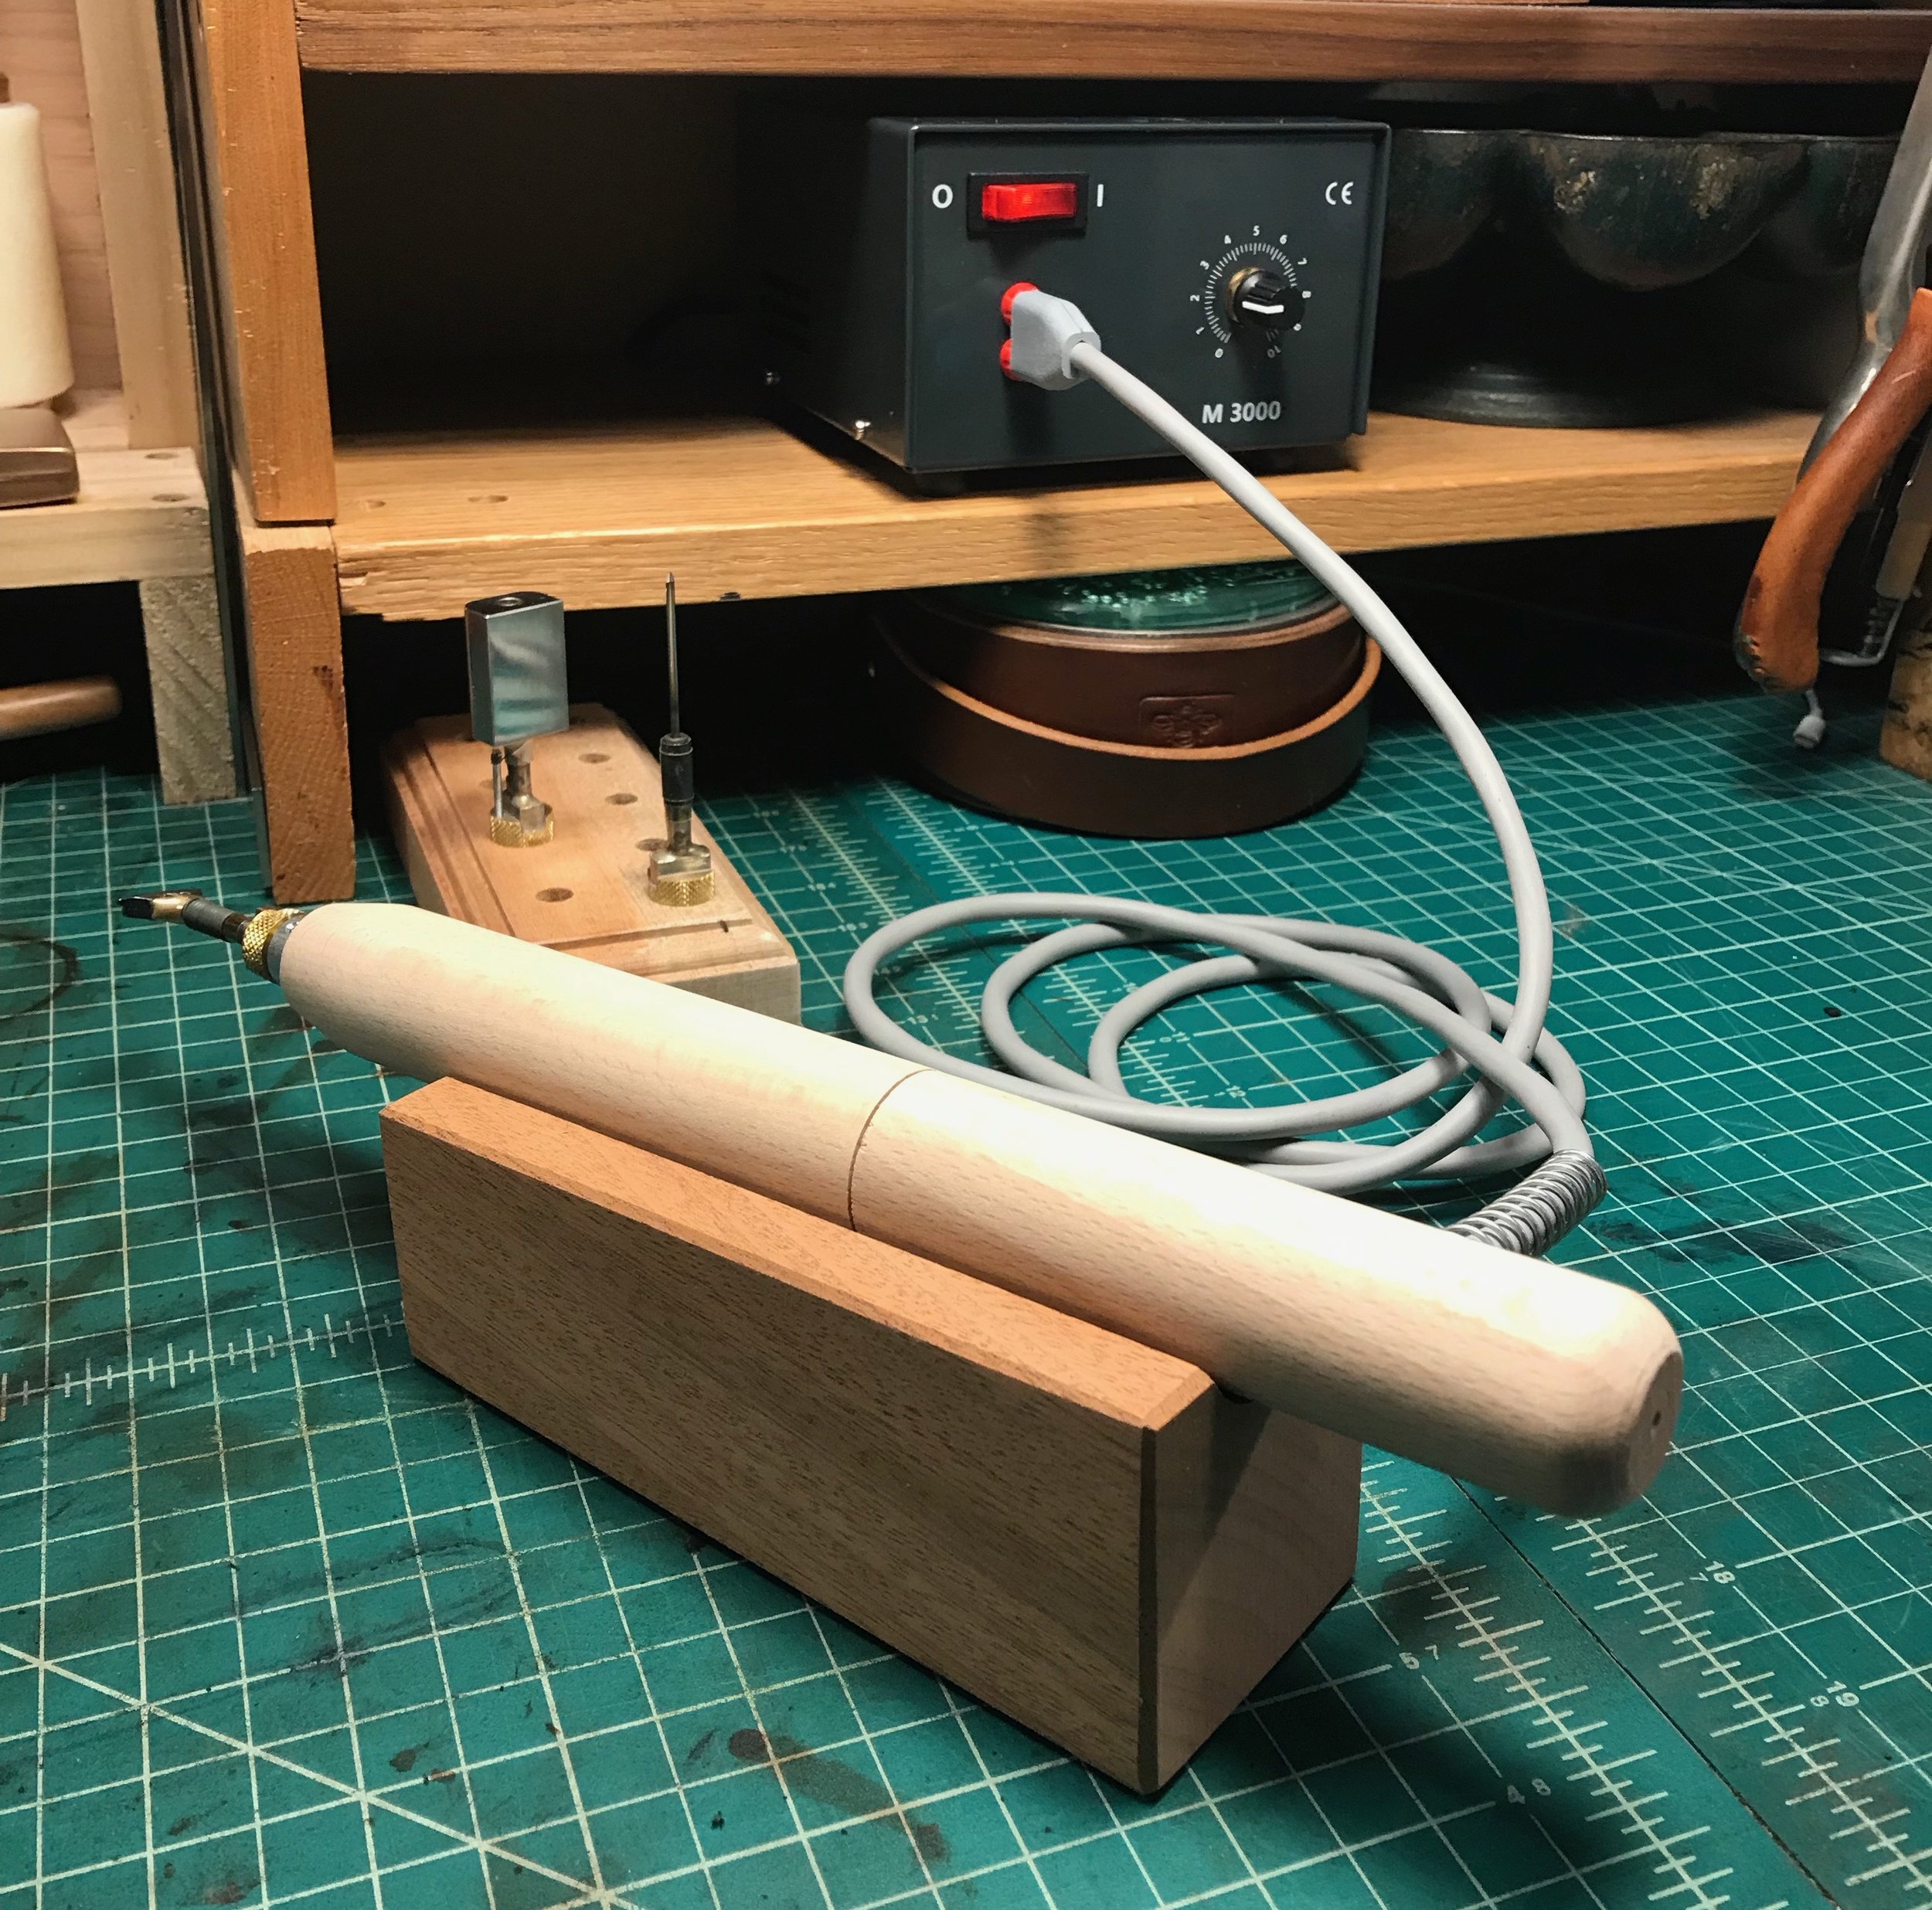
There’s a little bit of a learning curve, but let me tell you, it’s worth it. I started out with the M3000 because it’s a single-handle machine, and I couldn’t imagine needing two handles, nor do I really have the space for the bigger unit capable of powering two handles. The machine itself is a simple design with an illuminating on/off switch, a dial, and a place to plug the cord in for your handle.
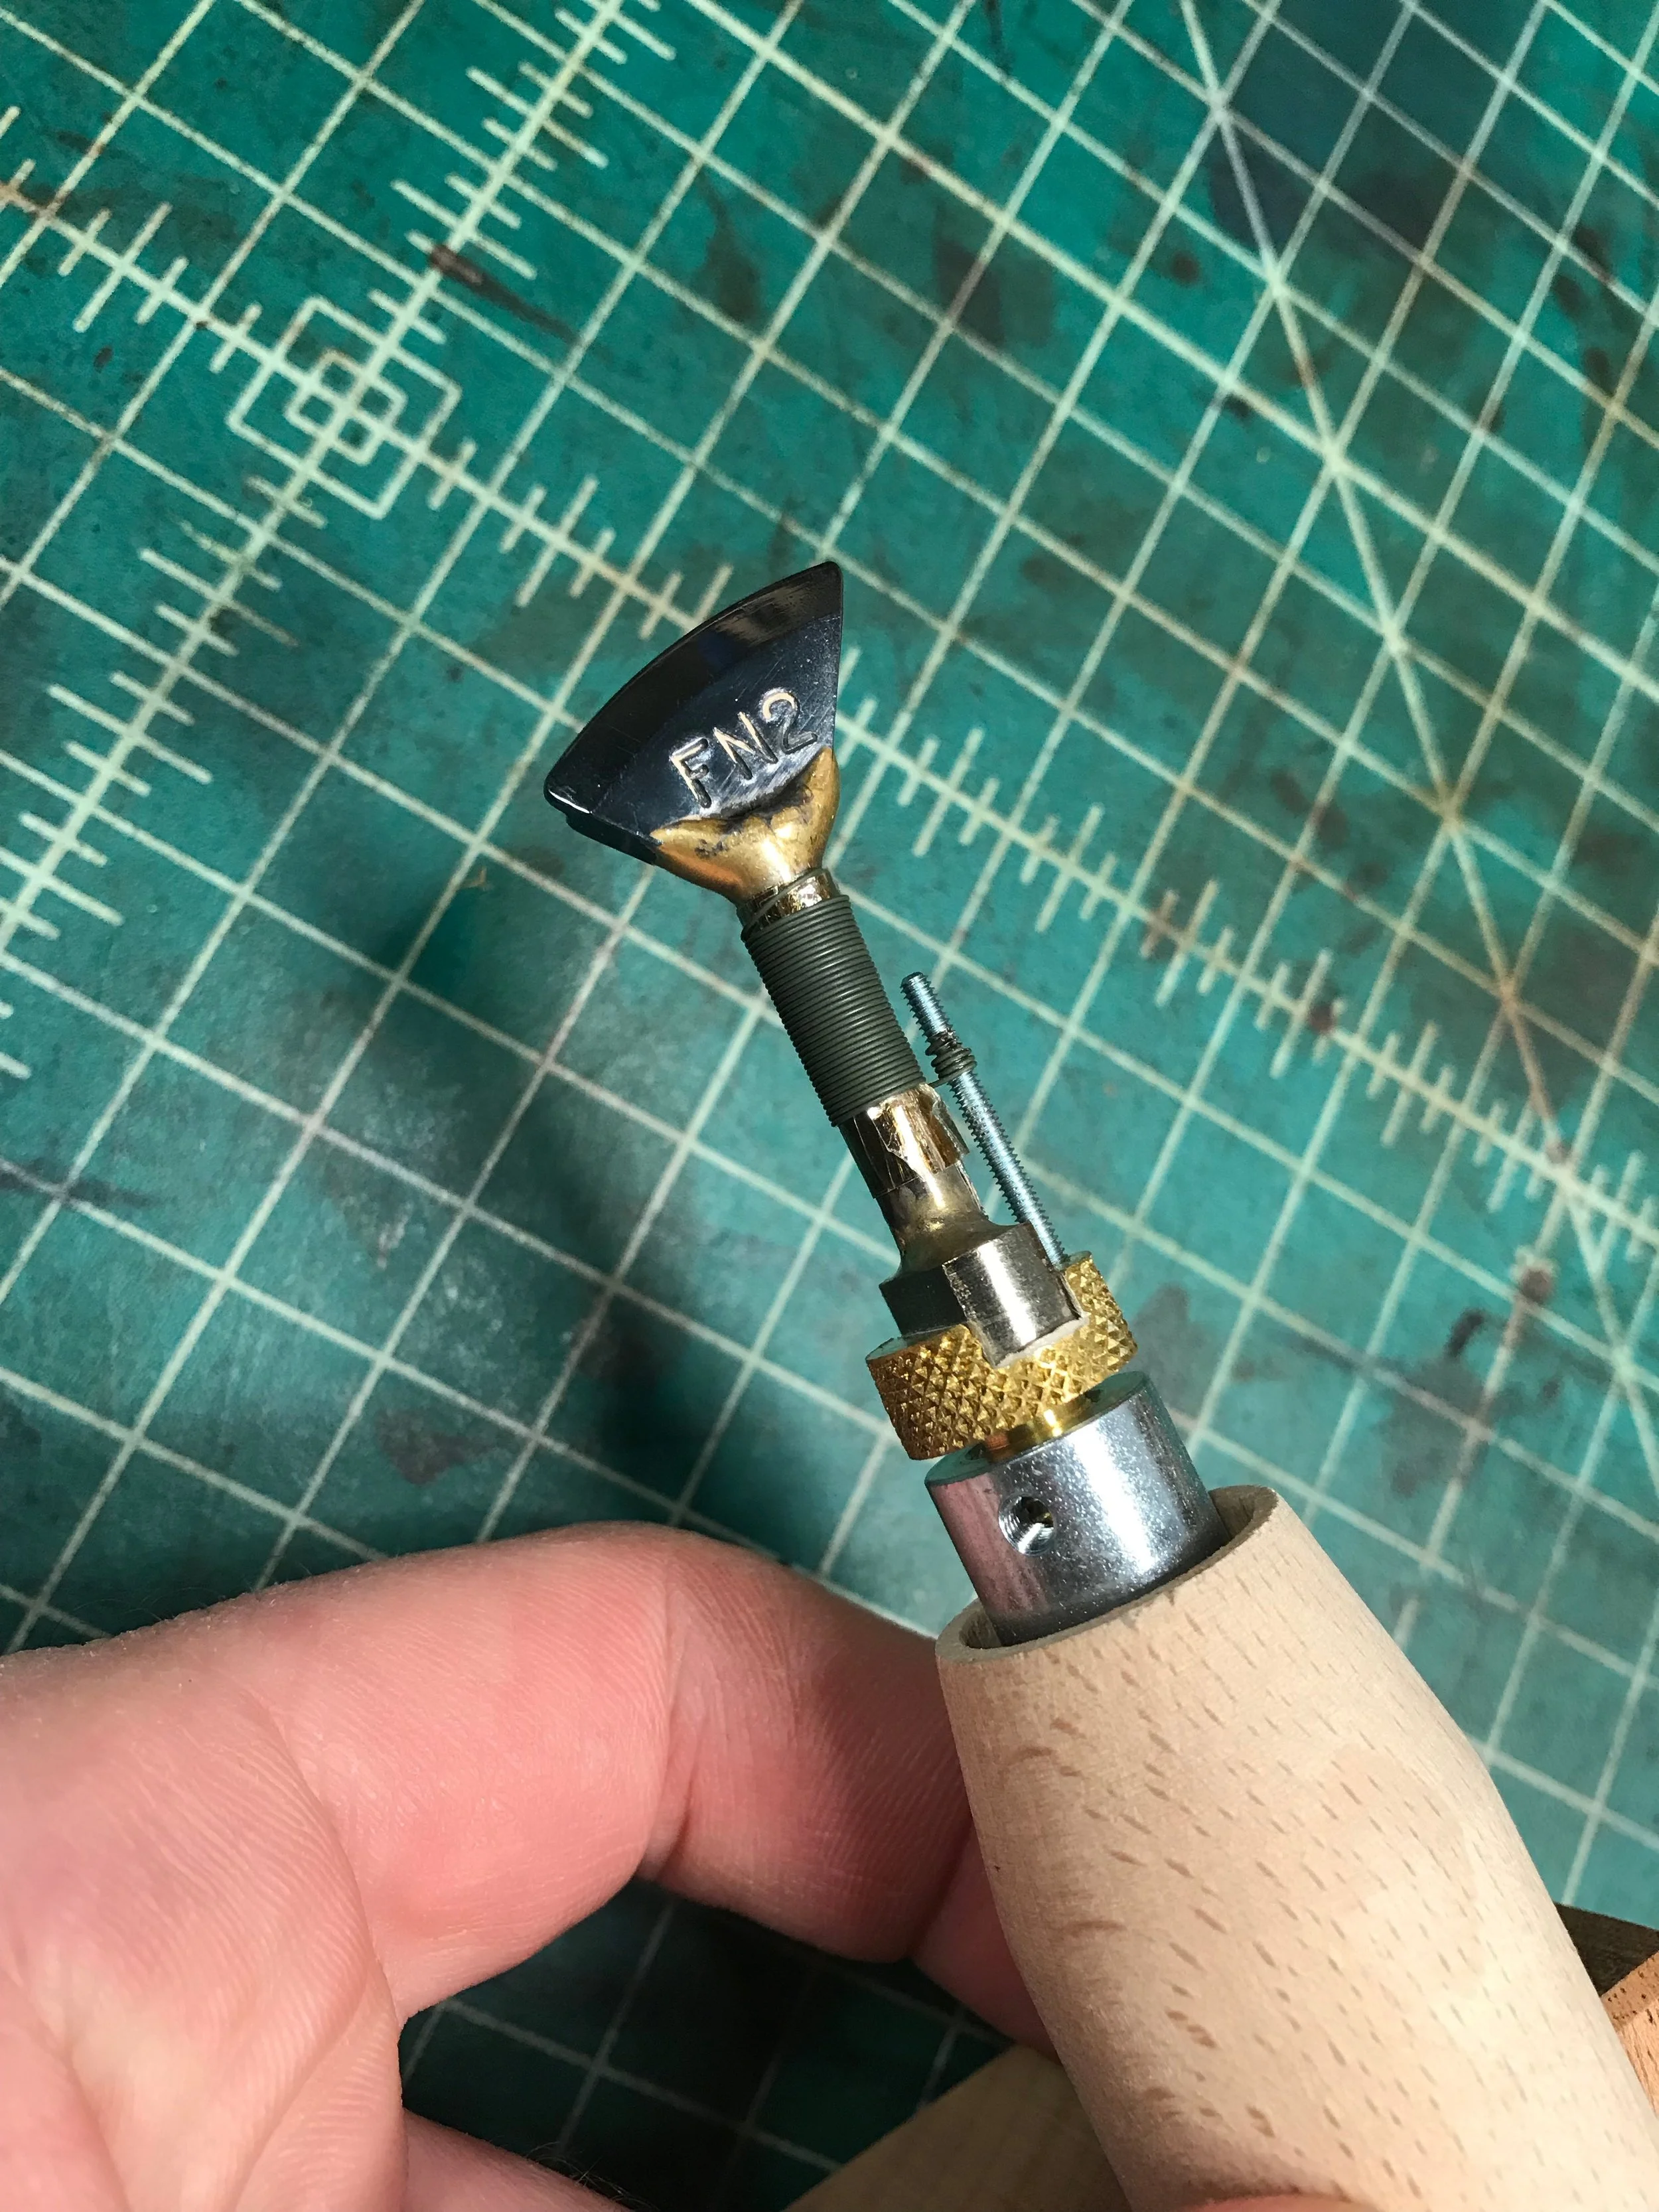
Once you select a tip to work with, it gets screwed into the end of the handle, and placed on the handle rest. The handle rest is a really important accessory because it’s a safe place to place the handle (off of the bench) while it heats up/cools down, or when you need to set it down in-between tasks. I don’t know exactly how hot these tools get, but they can be extremely dangerous if not handled carefully.
The learning curve comes in when selecting a position on the dial. I quickly learned that setting the dial to 6 was enough to burn the leather immediately when in contact with the tip. I ended up settling on a 1 for creasing, and 4 for burnishing.
Here’s my electric creaser setup which is all available here:
Regad Electric Creasing Machine M3000 - Transformer box with a spot to plug one handle in.
Straight Wood Handle - a long, straight wooden handle. I think the shorter cork handle might have been a better choice, but it could just take some getting used to.
Wood Handle Rest - This is an absolute must for safely putting your handle down when it’s hot.
FN2 Tip - This tip applies a crease 1mm from the edge of the leather.
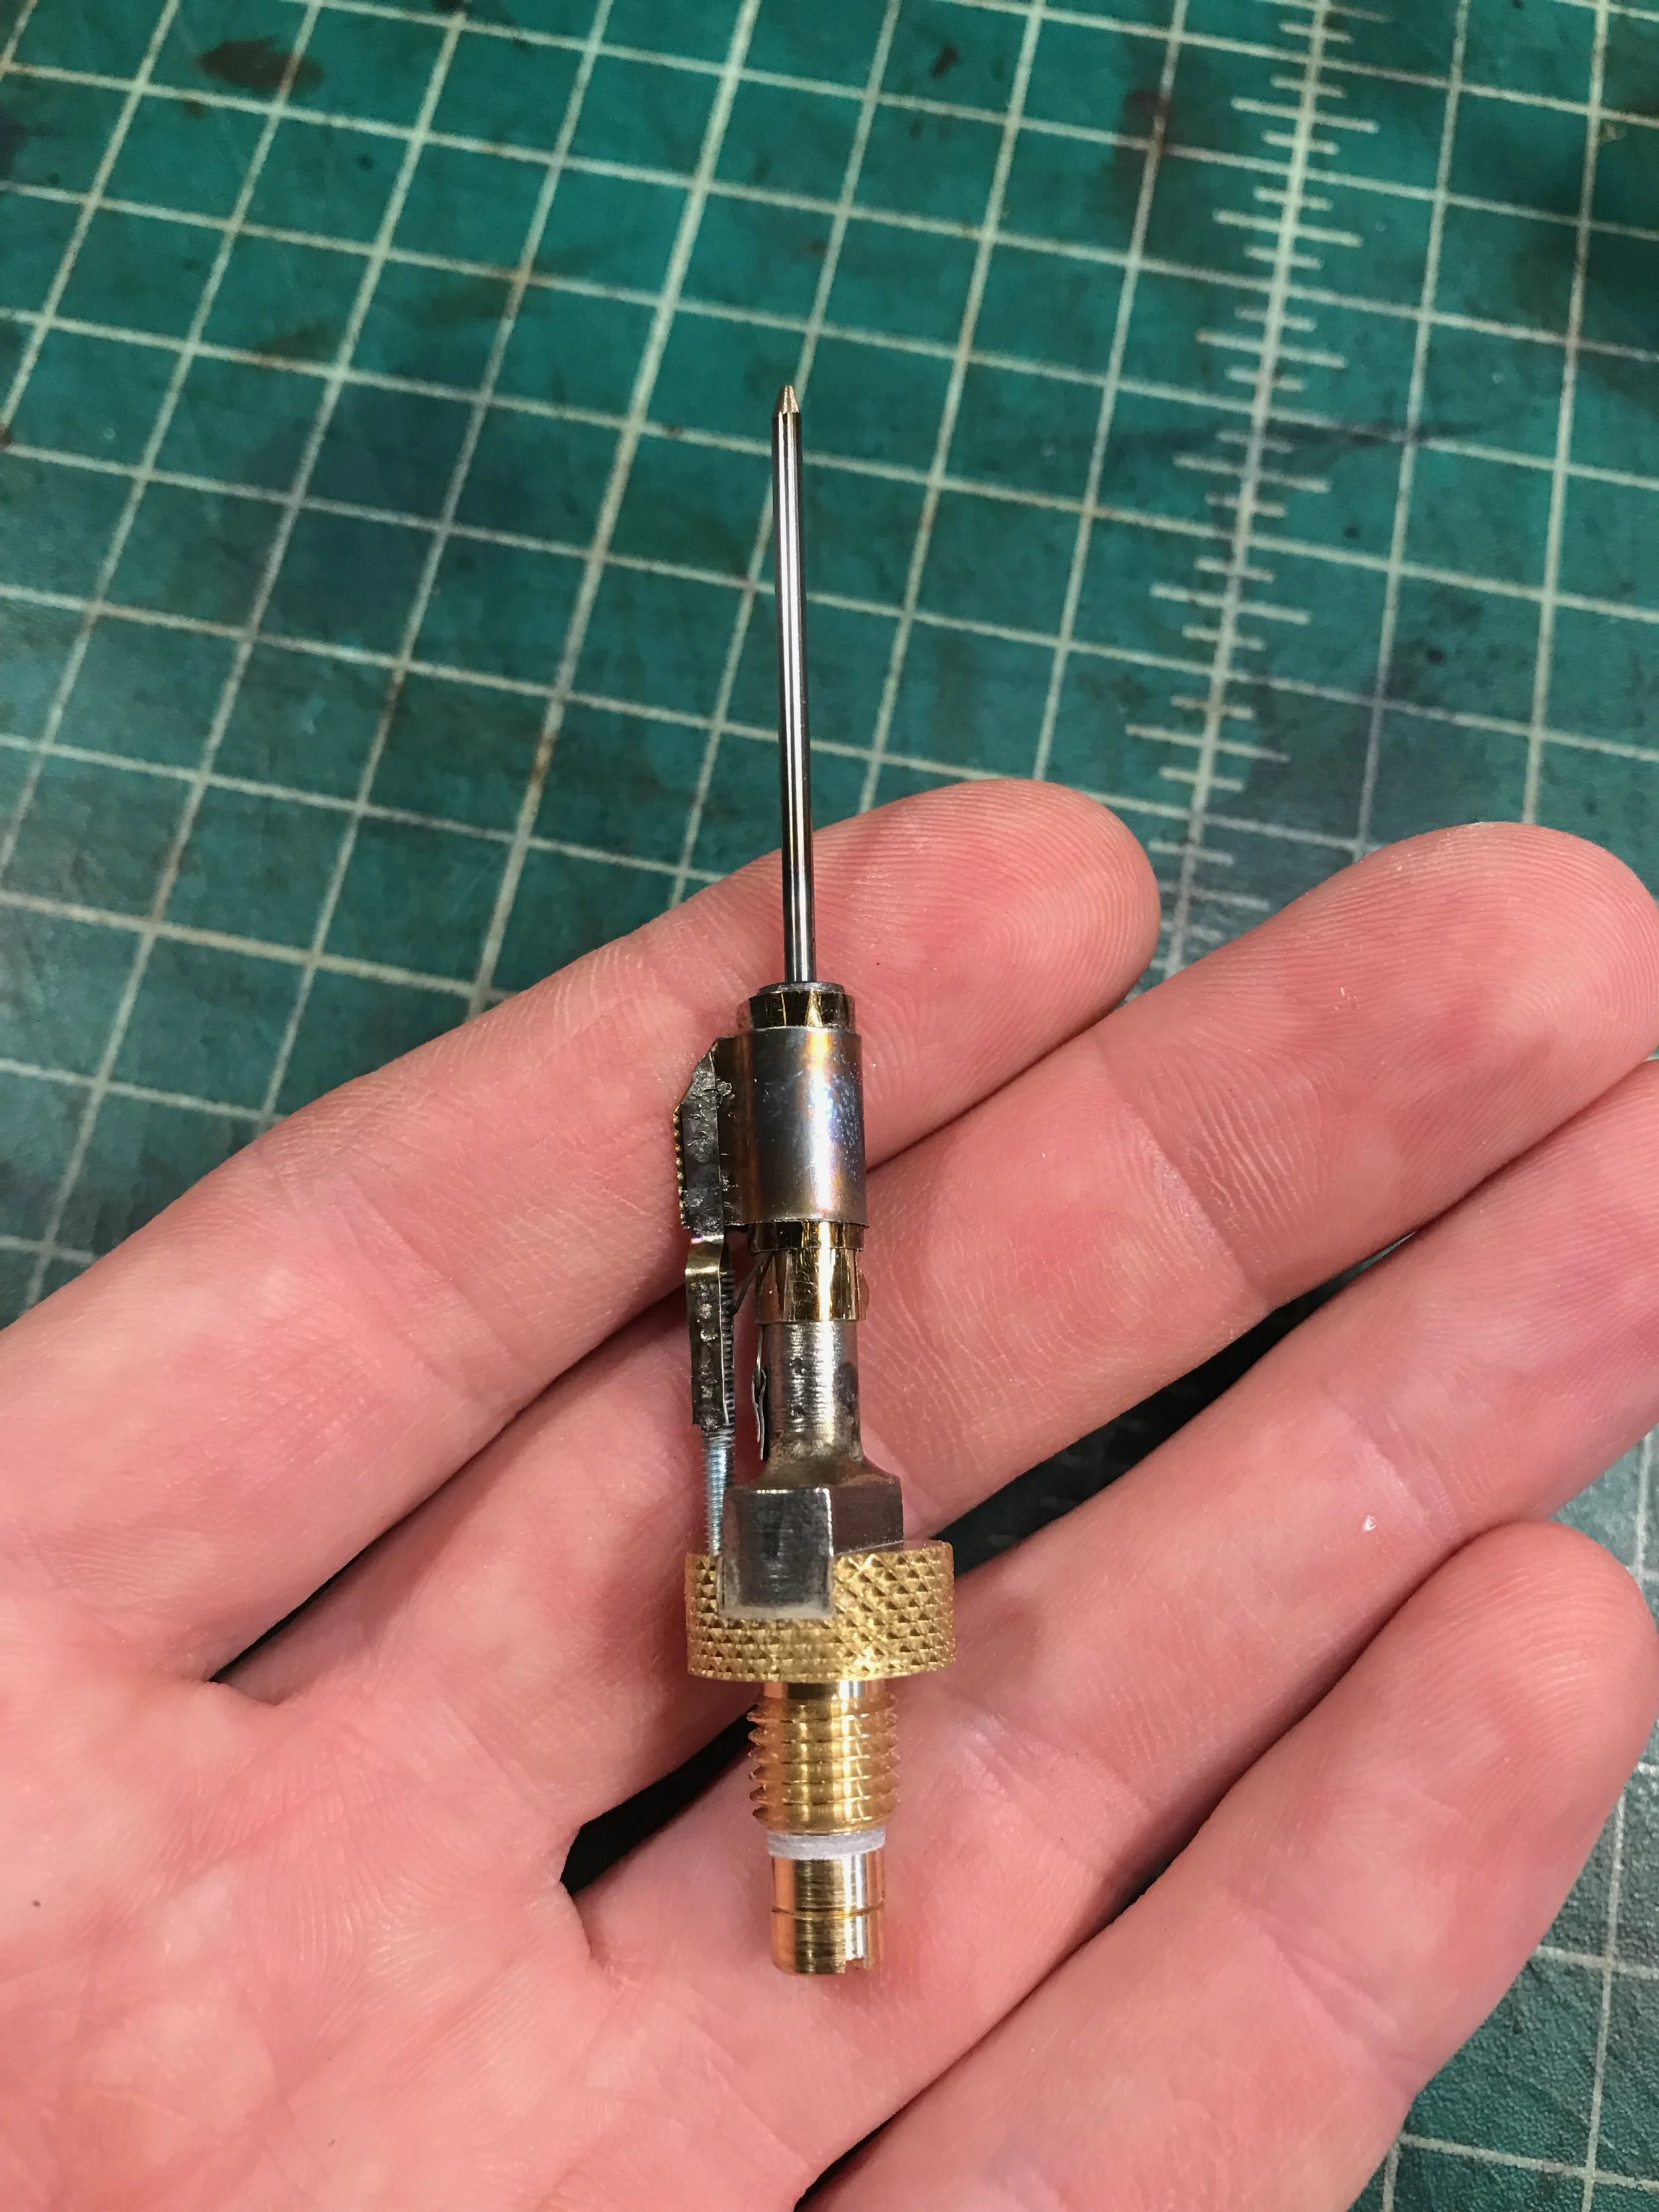
Watch Strap Burnisher - This is basically a slender rod that can fit into watch strap holes, the fold where the watch pin goes, belt holes, or any small area that you’d like to burnish.
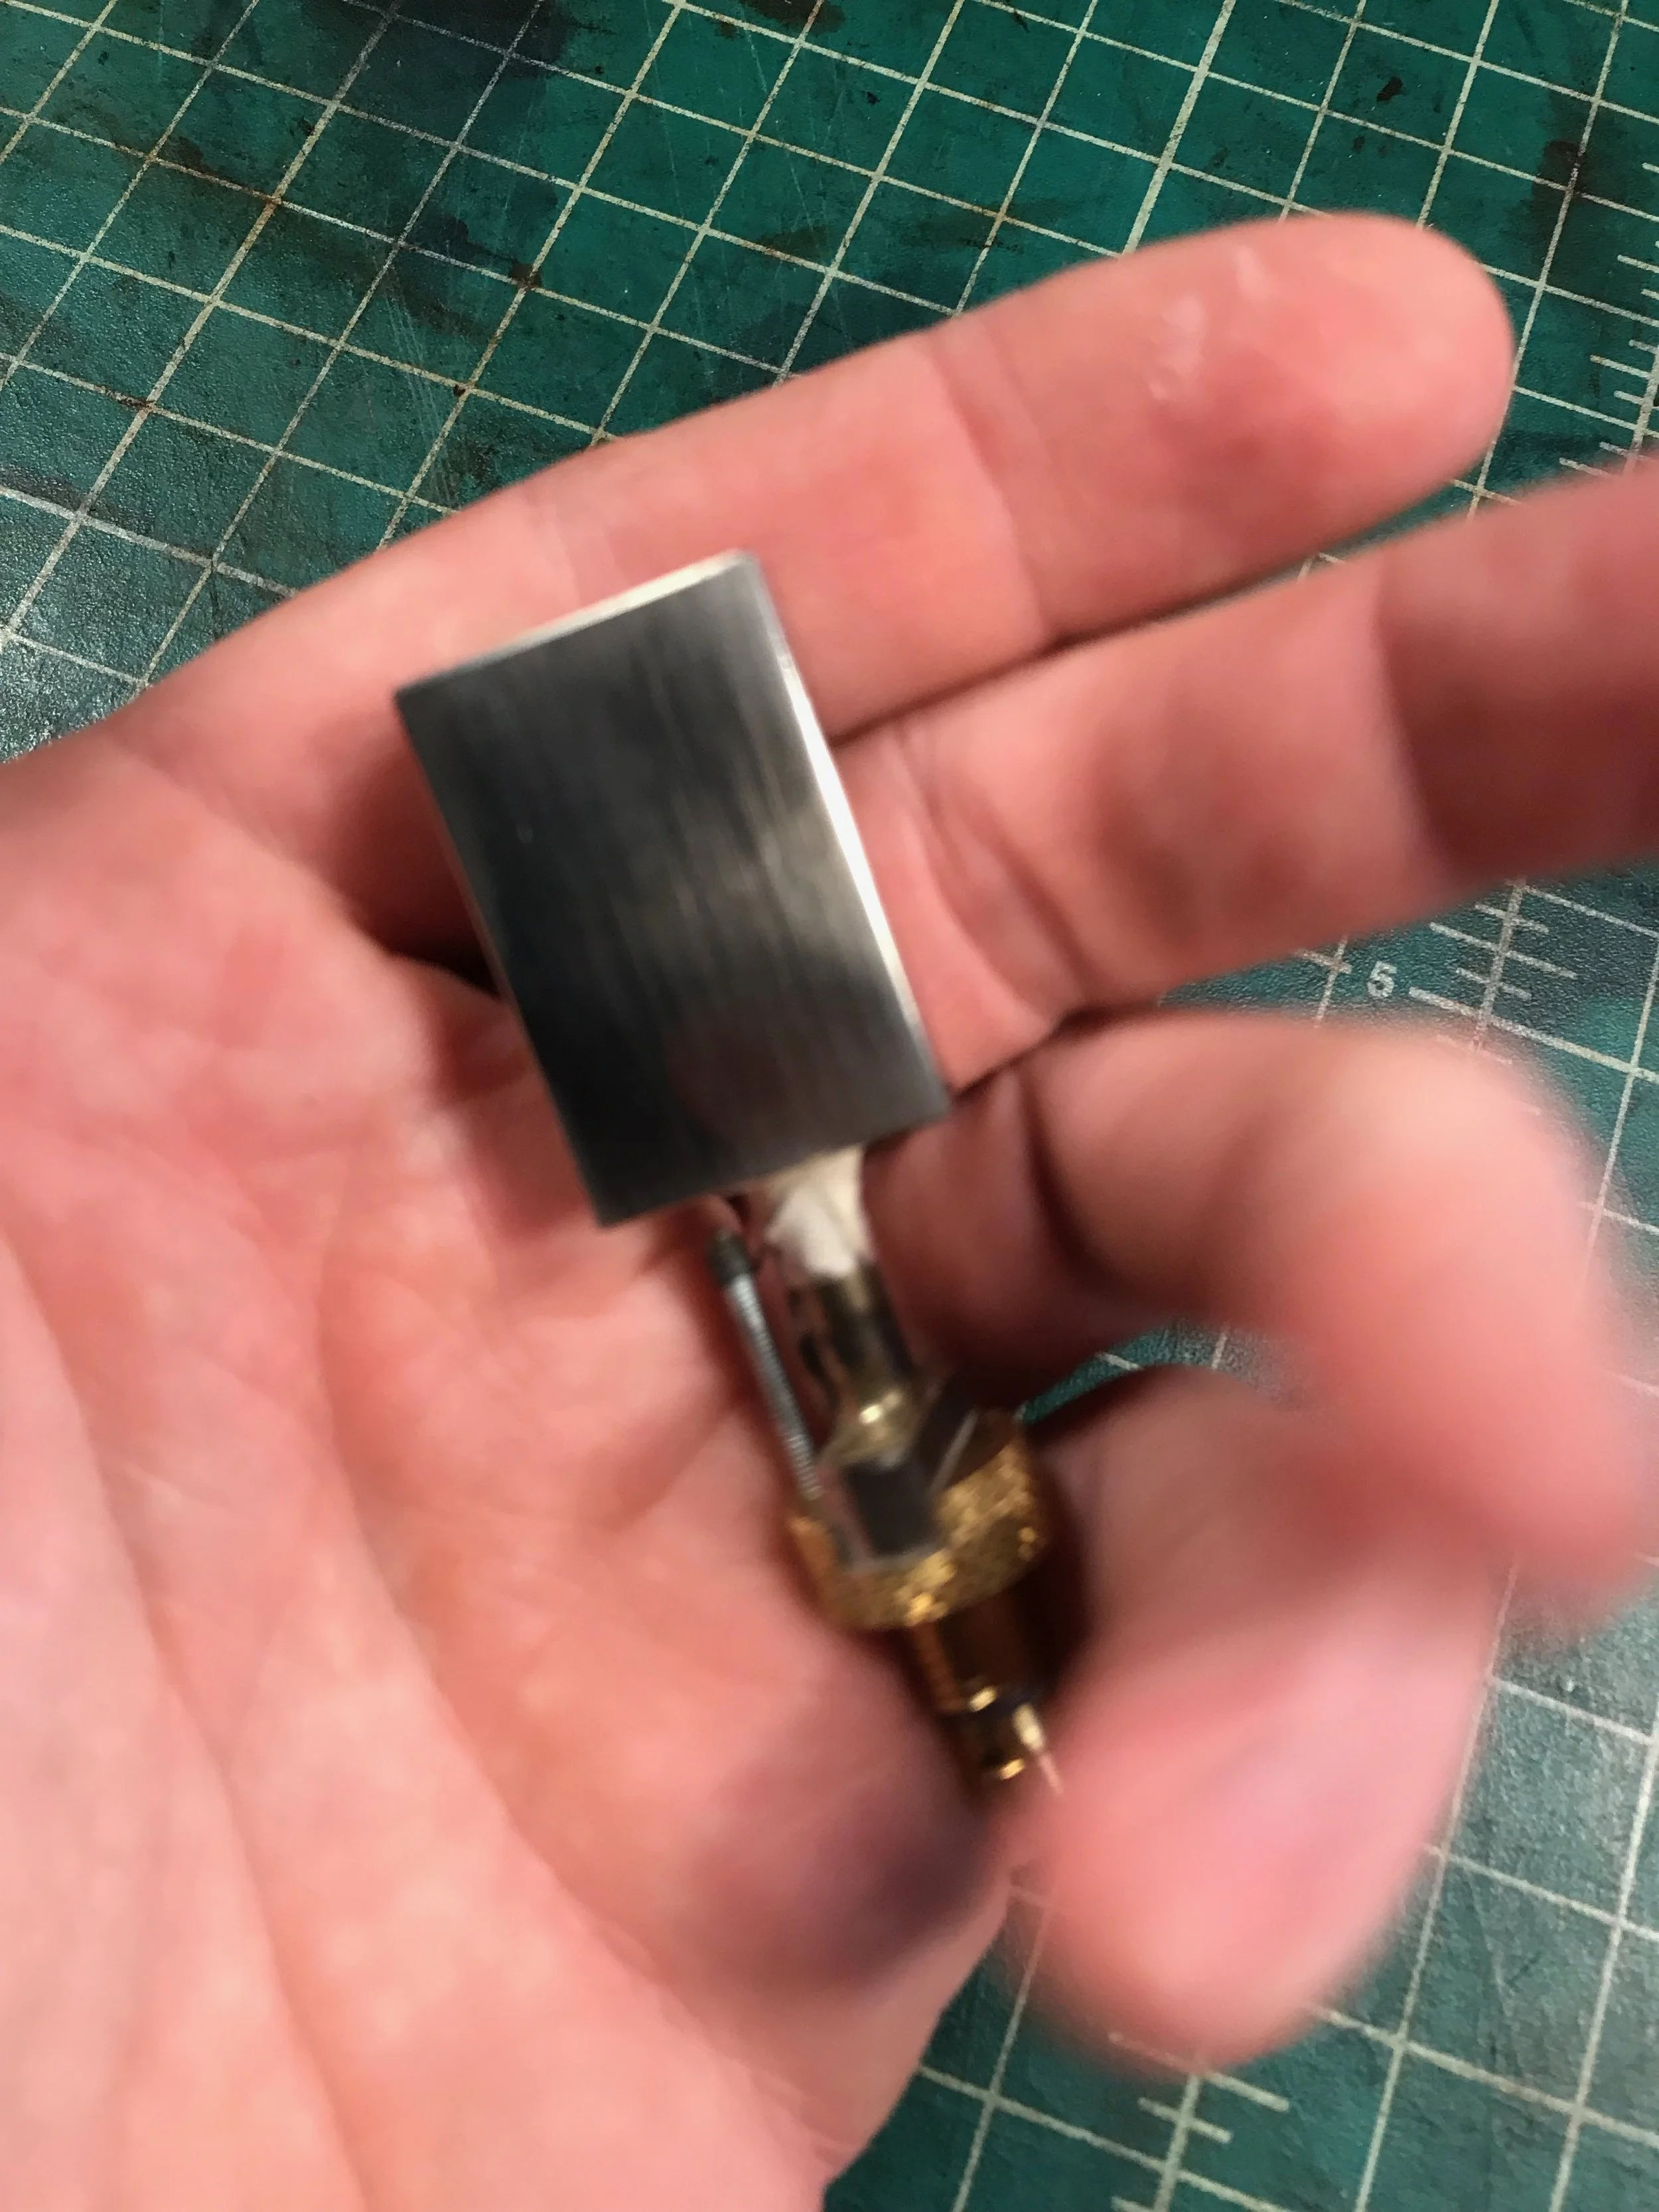
Edge Burner - This broad steel tip has a large flat surface that’s fantastic for burnishing large flat areas.
Wooden 7 Tip Holder - These tips aren’t cheap, and tossing them in a drawer or a box doesn’t seem like a good idea. This nice little tip holder safely stows your tips in an upright position, making them easily accessible and well cared for.
I put together a little tutorial to make this machine, and the process a little easier to understand. This post will be a work in progress, and as I get more accessories for the machine, I’ll update this guide with what I learn.
Creasing:
I’ll be using the FN2 because it’s going to make a crease a nice distance from the edge (1mm), and because it’s the only creasing tip I have.
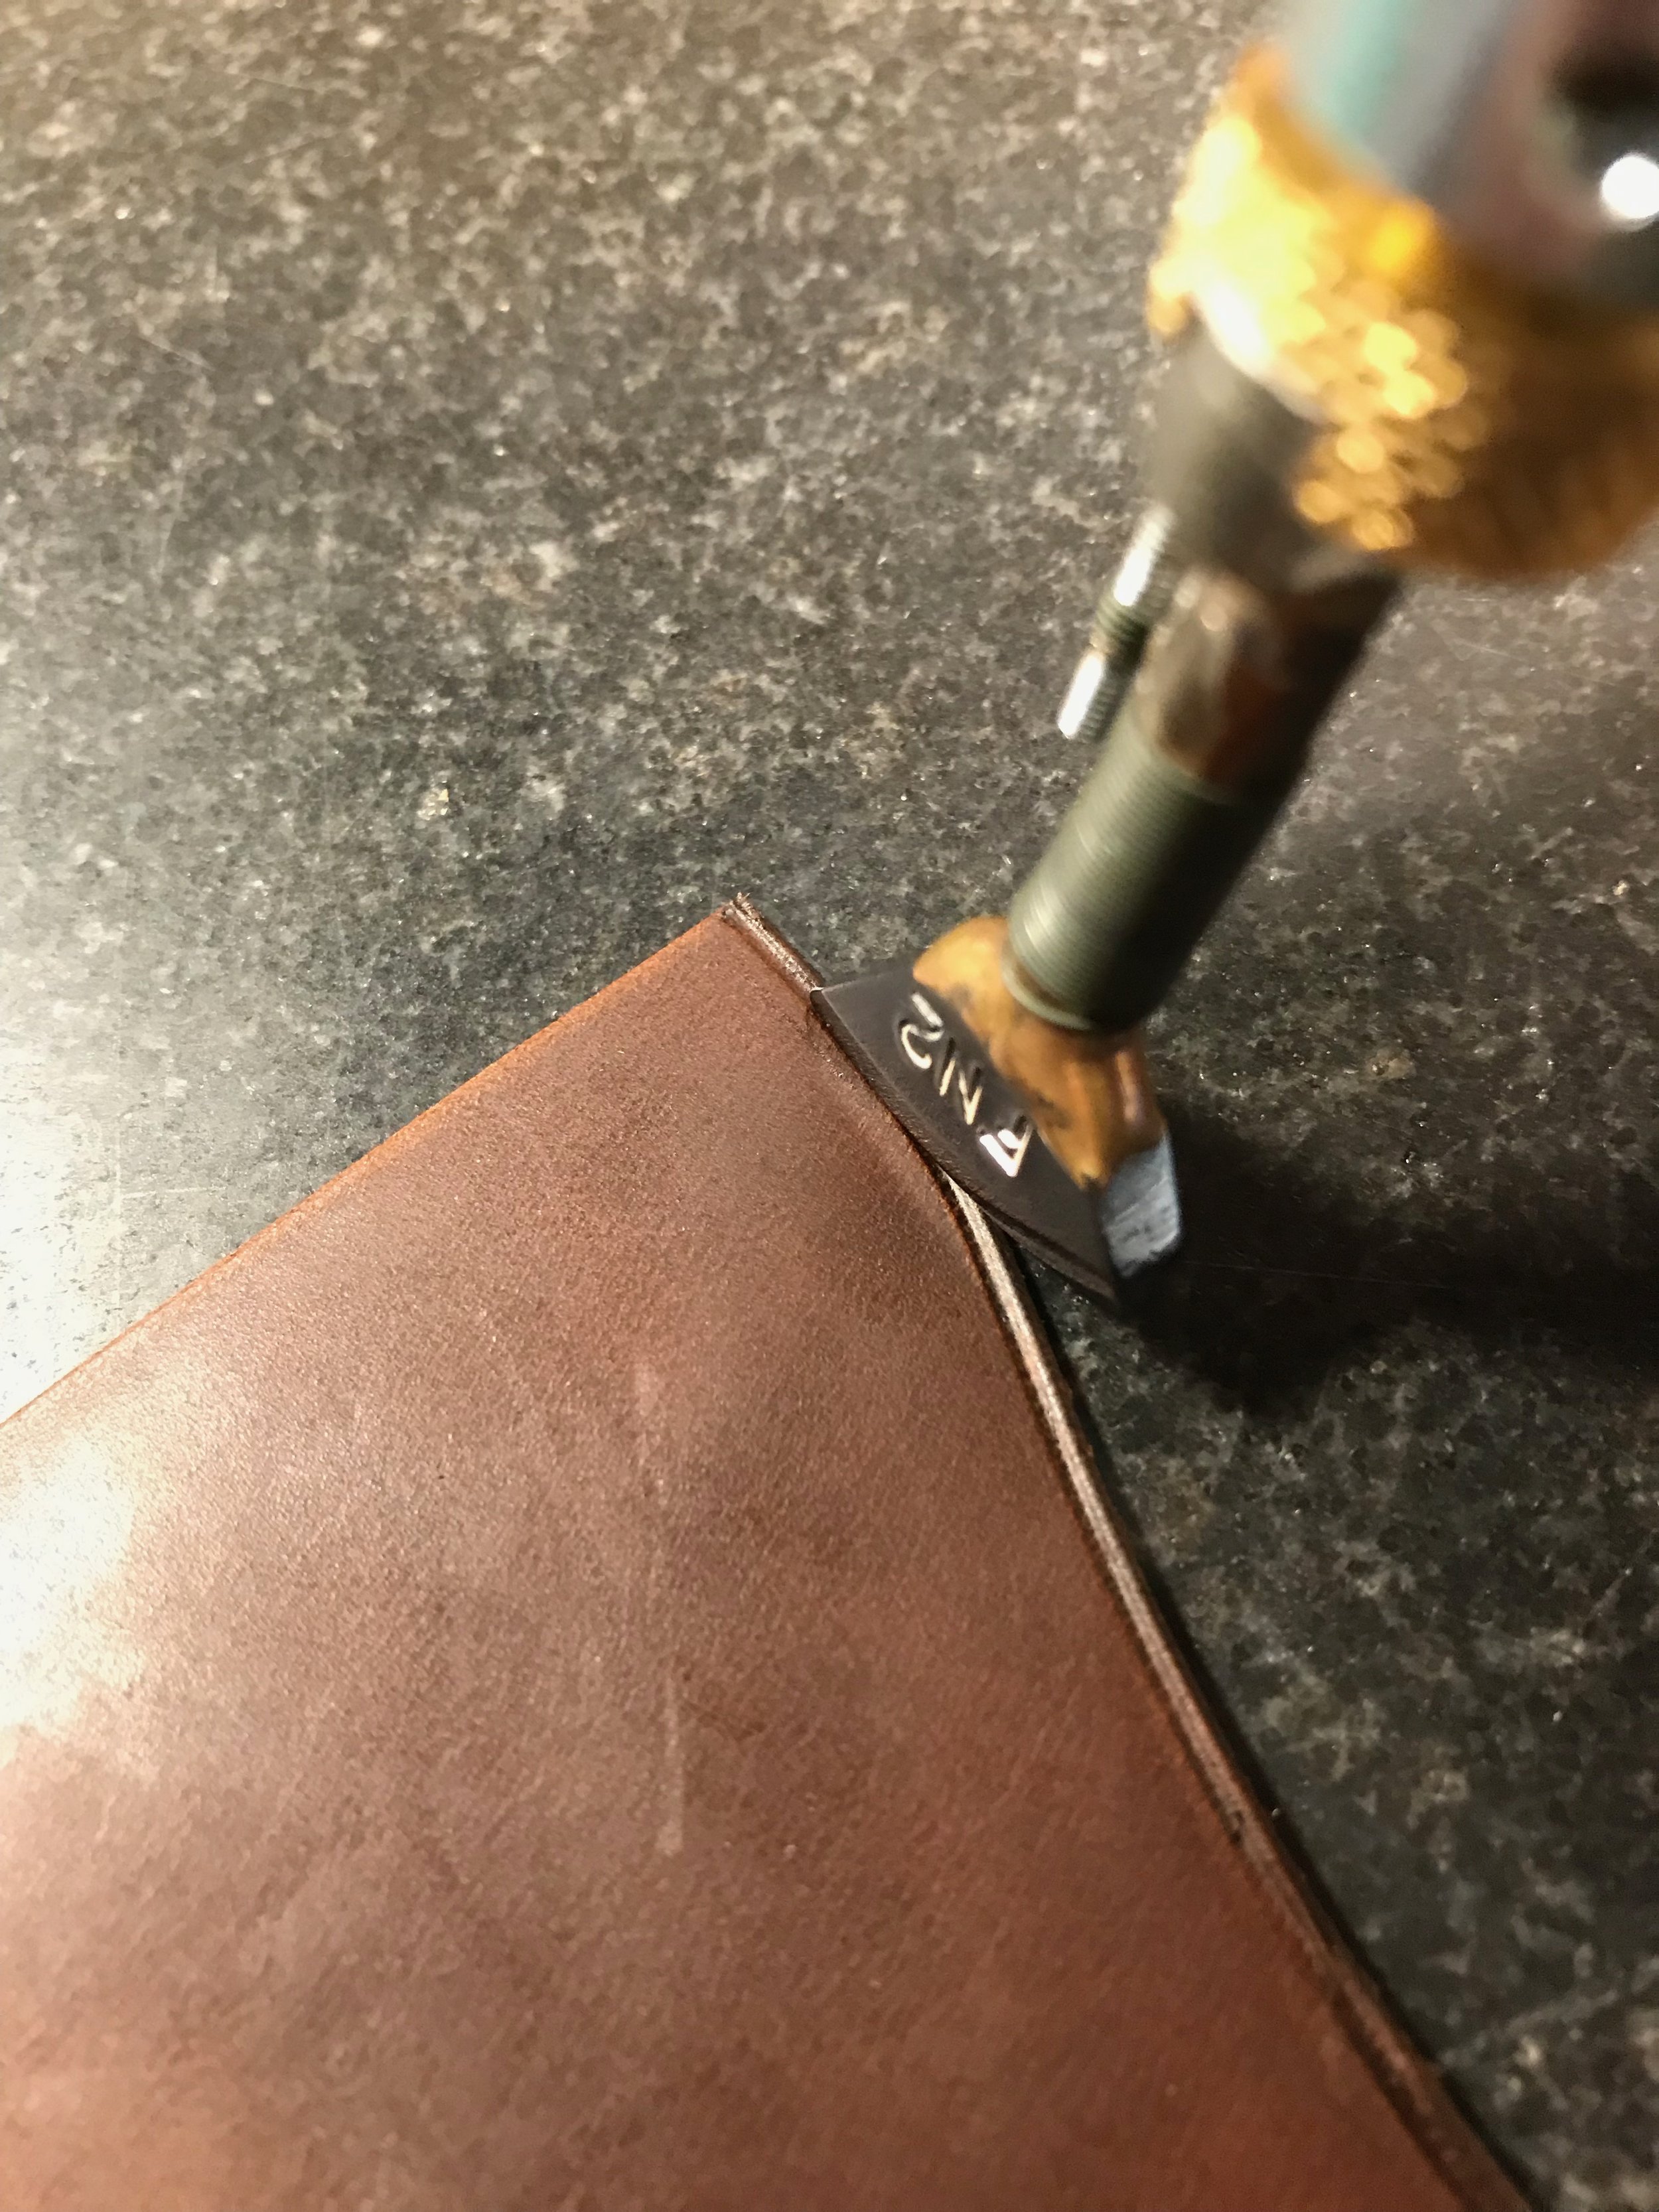
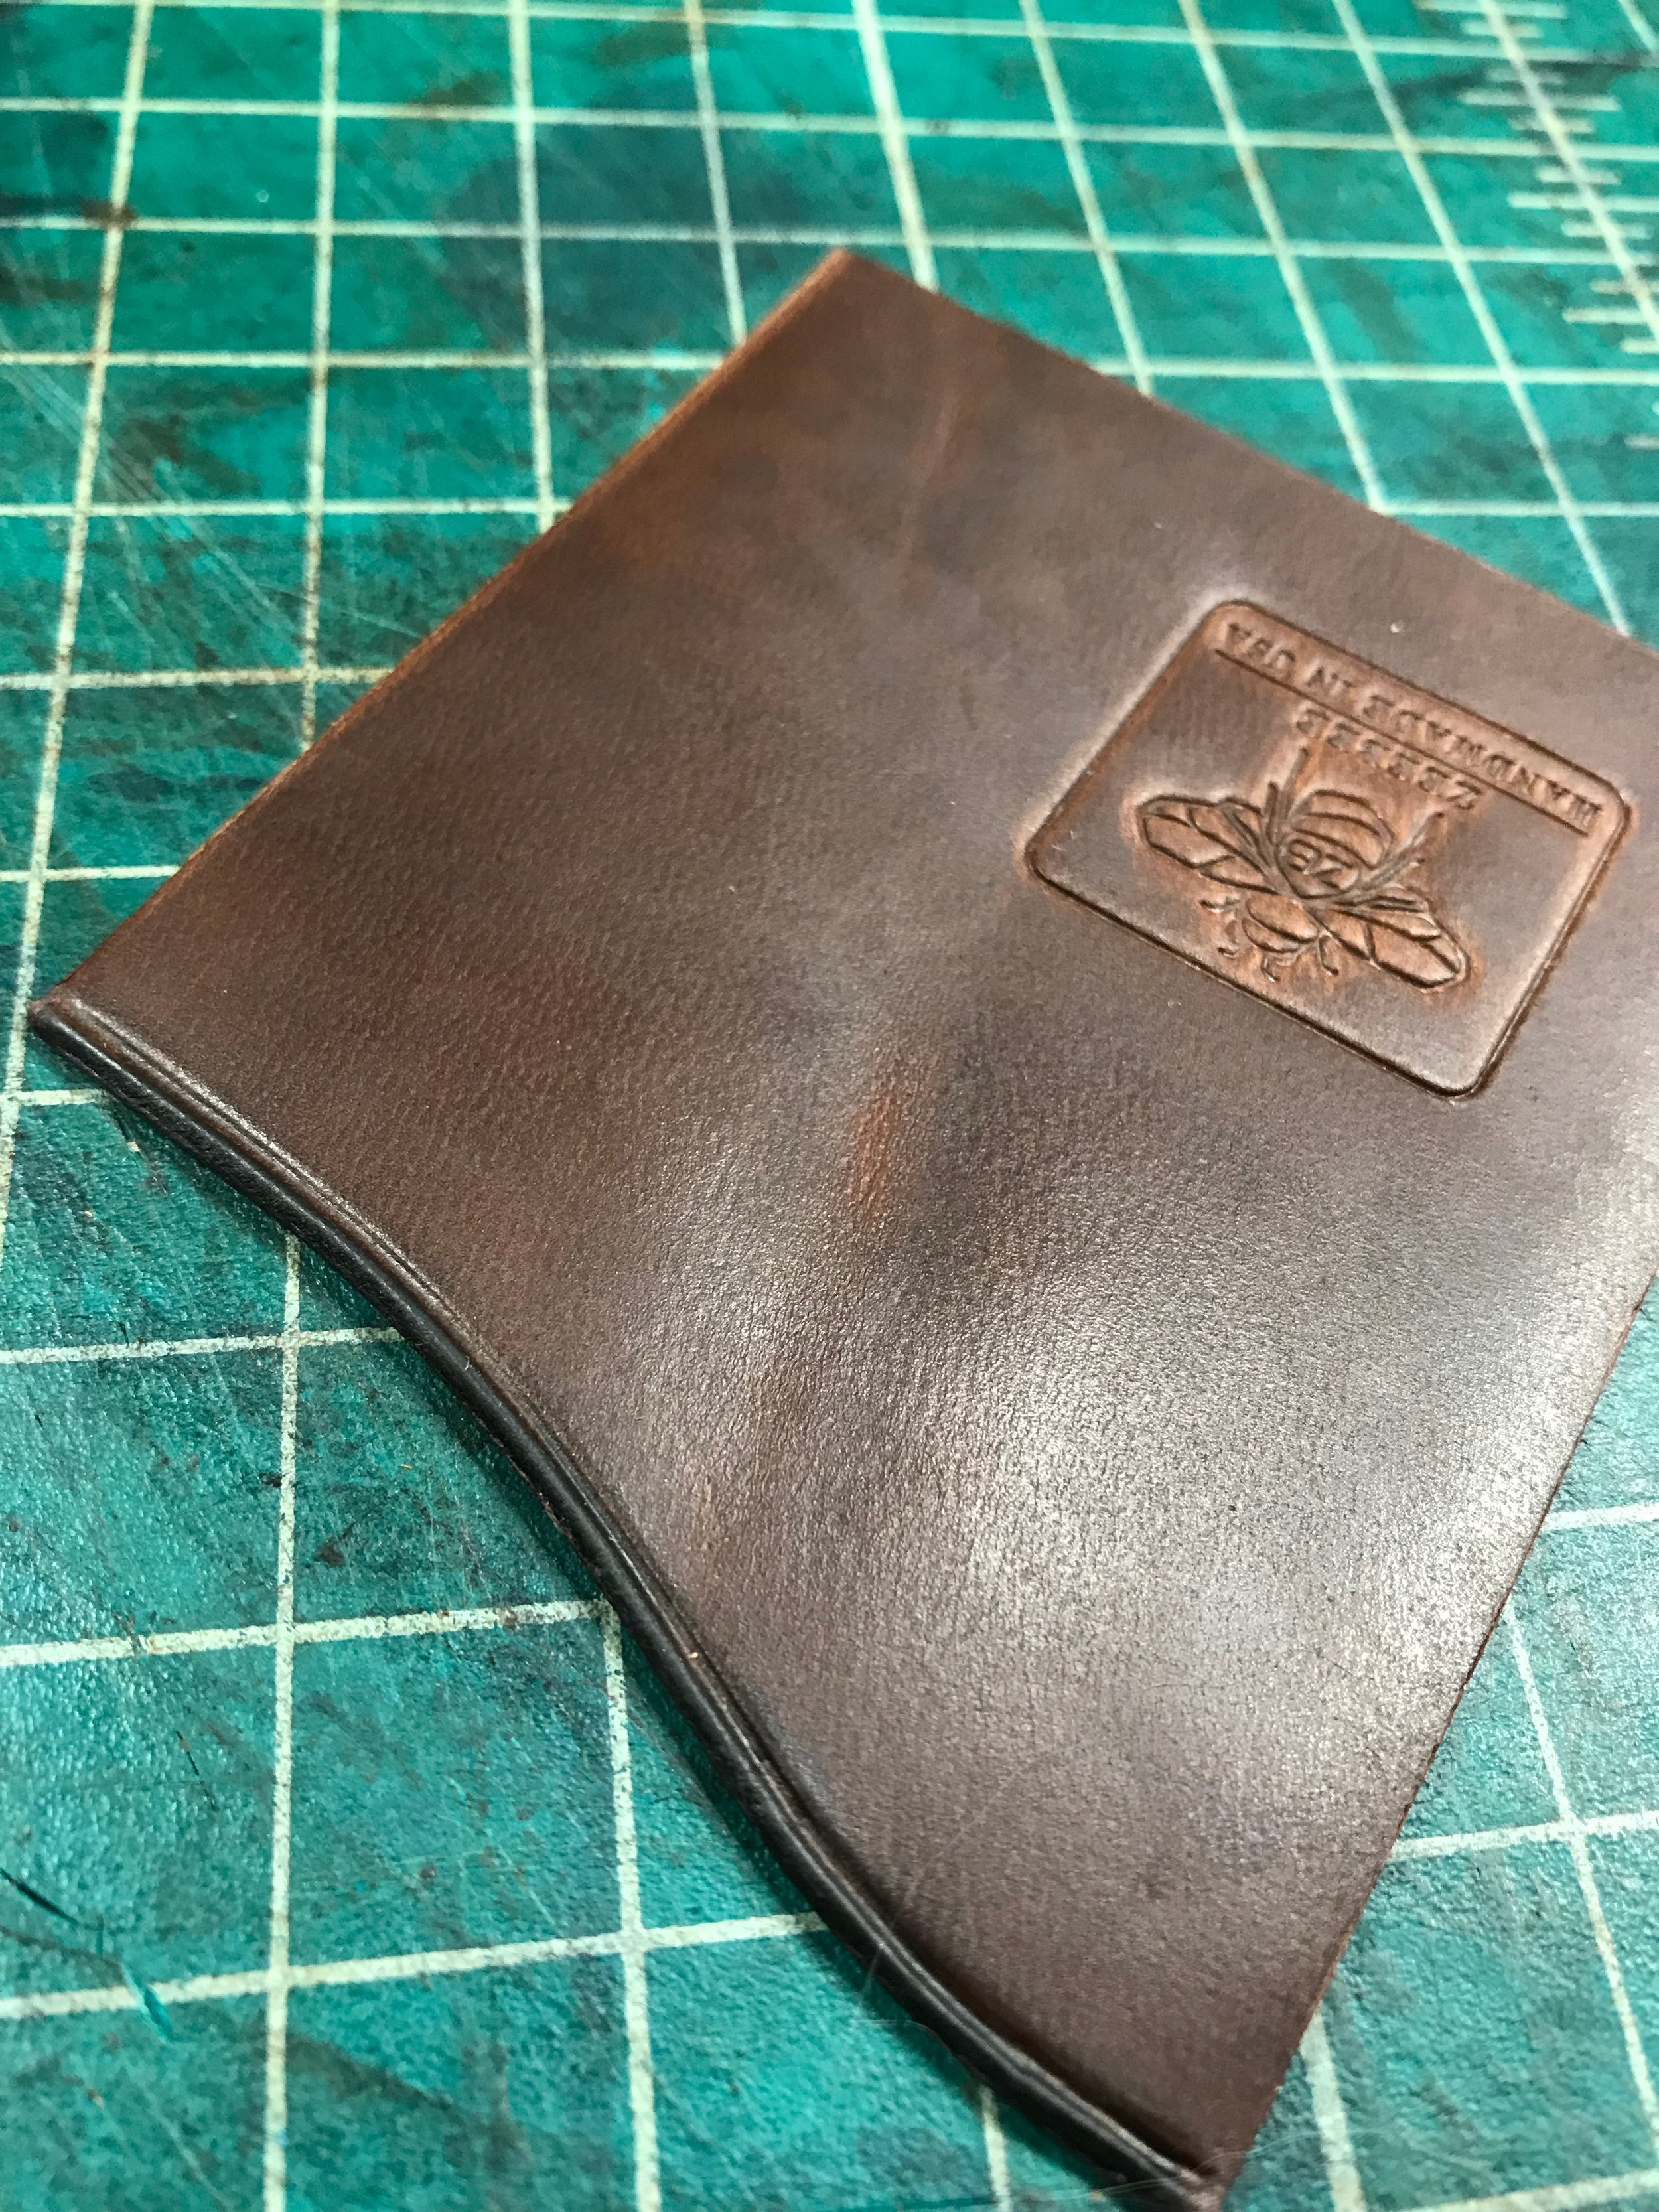
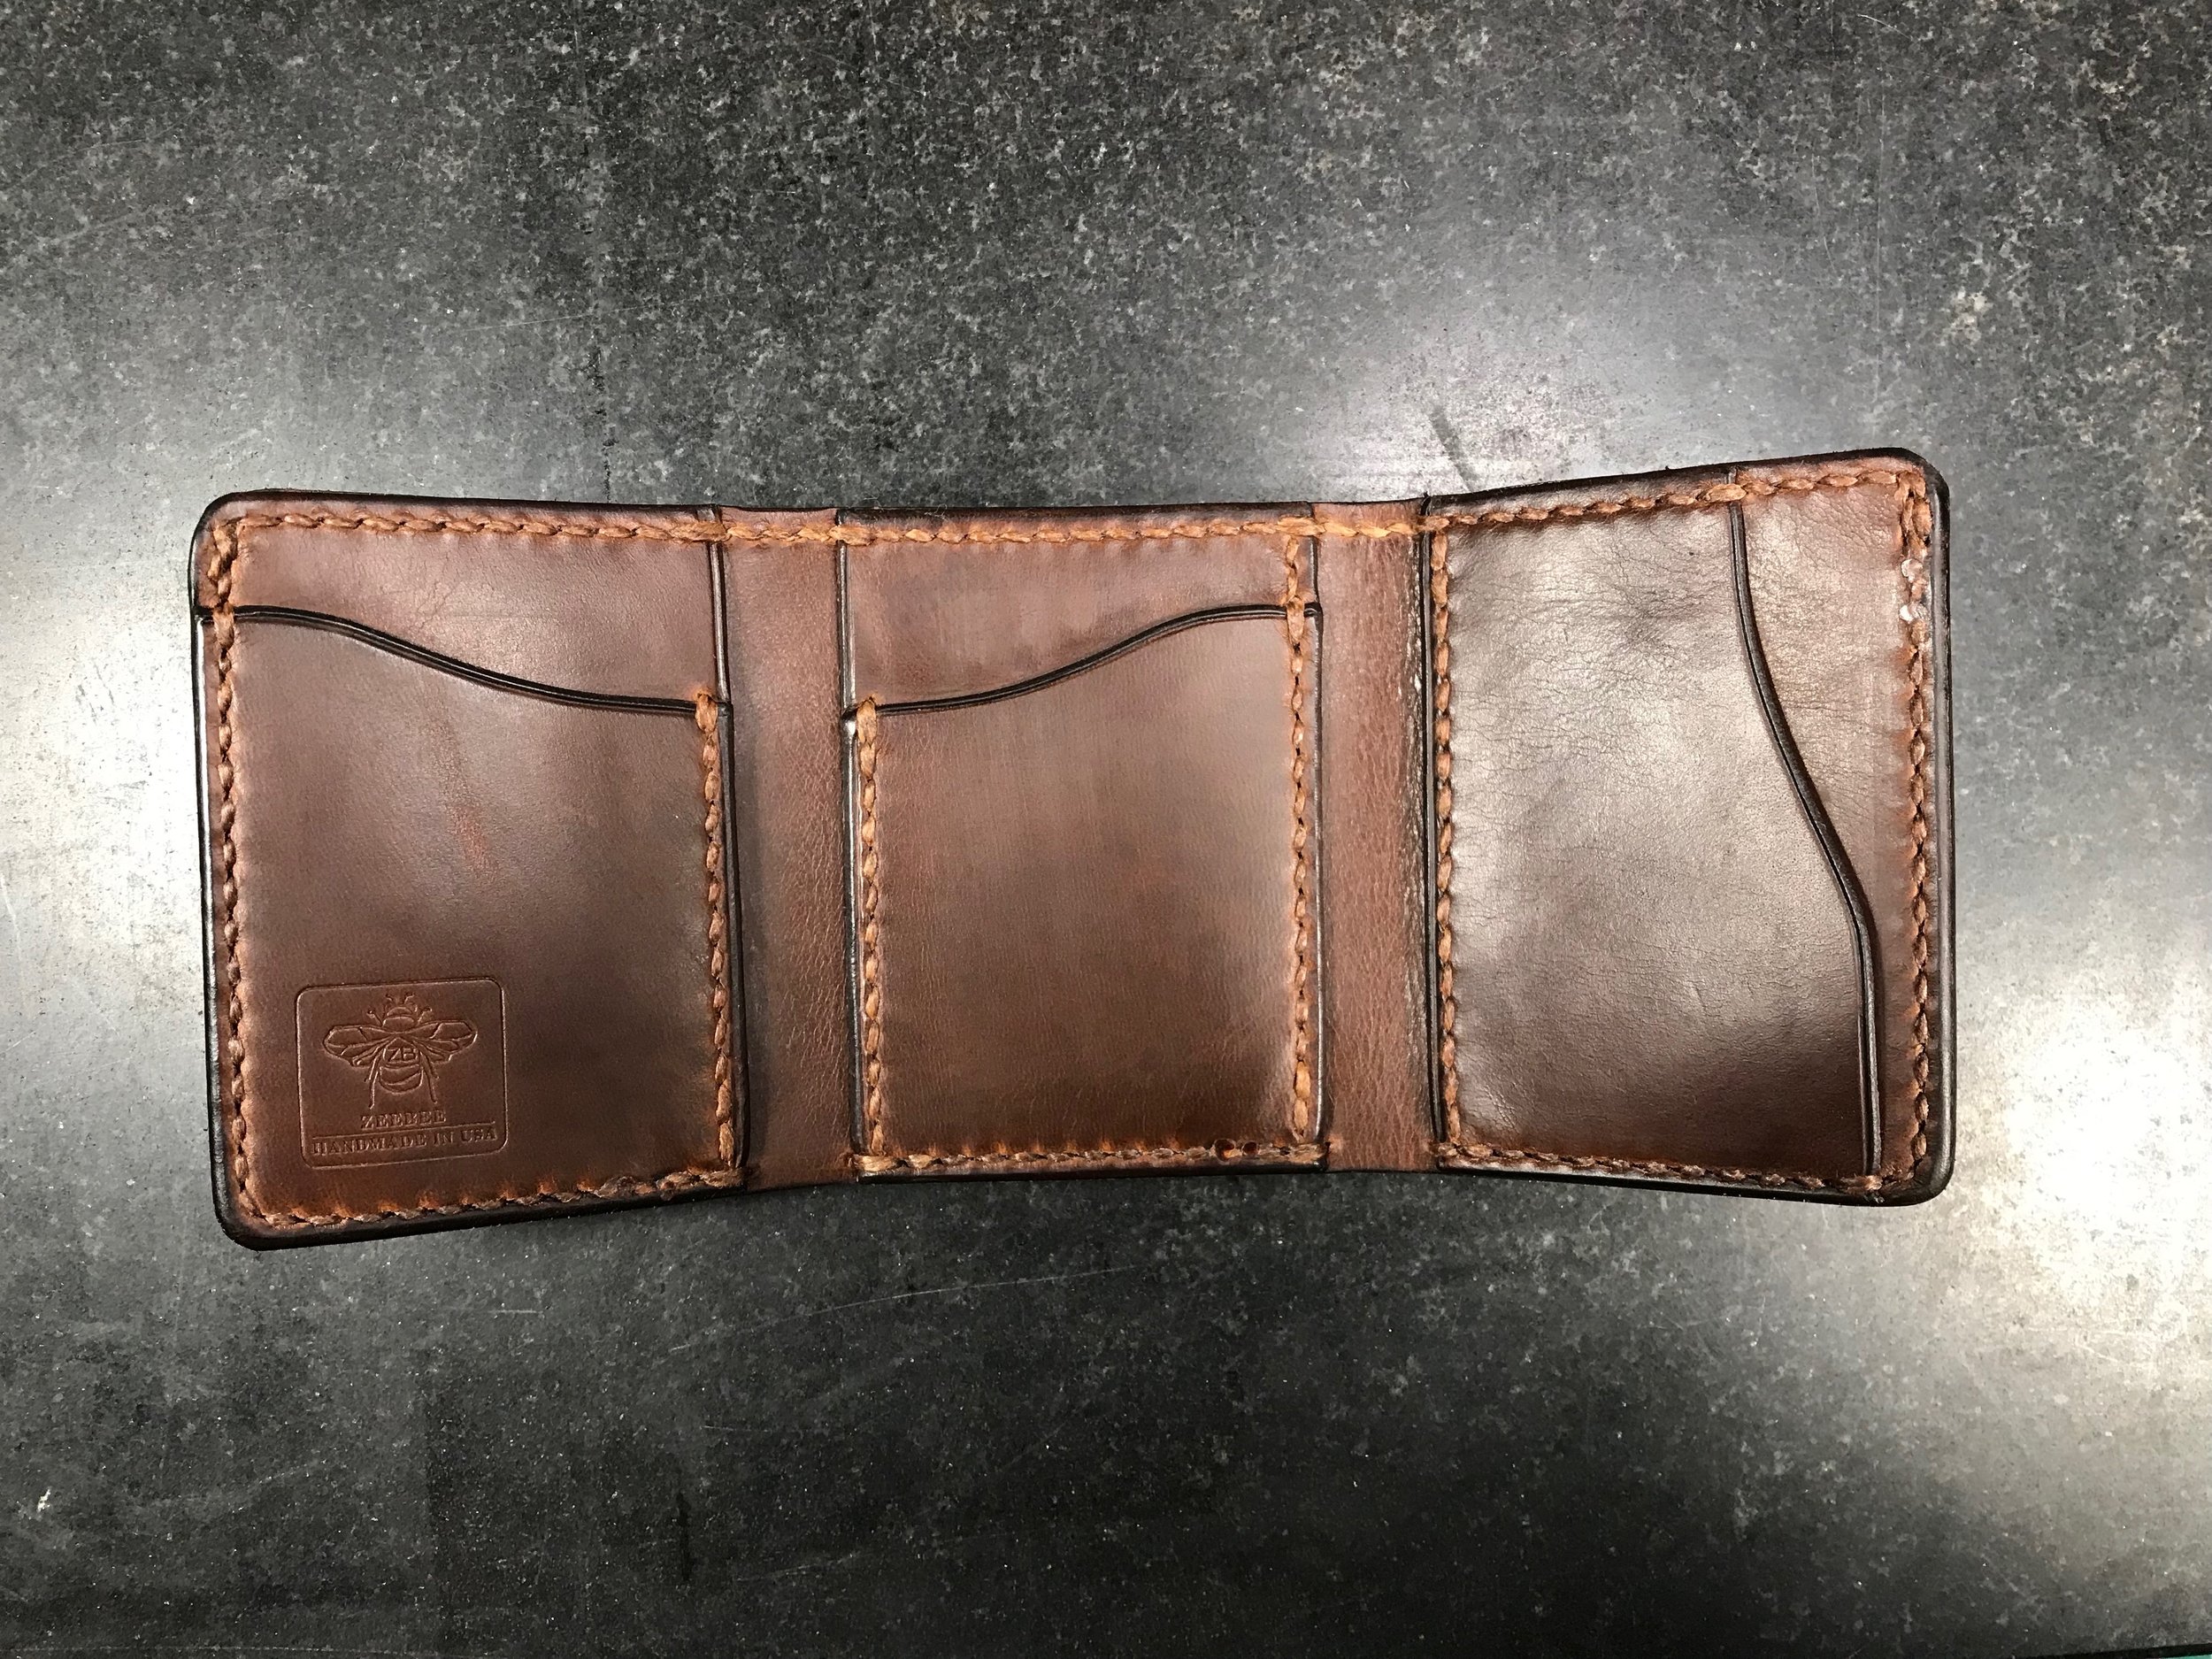
Turn on the machine, and select your heat setting. Though a little trial and error, I’ve found that 1 is a good setting for creasing. The goal isn’t to change the color of the leather, but to apply heat and pressure. Creasing can be accomplished with pressure alone, but the added heat will solidify the crease and make it permanent, whereas a crease made with only pressure may fade over the years.
Holding the handle vertically, with the tip lined up against the edge of the piece, apply a medium amount of pressure as you slowly guide the heated tip, following the contour of the edge, and follow the tool along the edge of the leather with your eye. I like to get all of my creasing done, and burnish afterwards.